
一、安装Debian系统
smartdns主页地址:https://github.com/pymumu/smartdns
1、切换root用户
su - rootsudo -i2、修改Debian系统的IP,改为固定IP地址。
方法一、替换配置文件
替换interfaces配置文件。interfaces文件位置:/etc/network/interfaces
cd /etc/network/方法二、手动修改配置文件
输入以下命令,
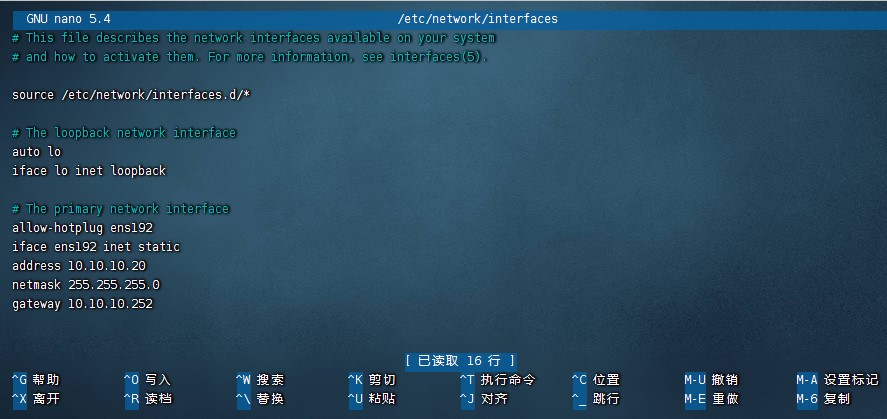
nano /etc/network/interfaces按住键盘下键,直至文档尾部,以下代码添加上。
iface eth0 inet static #修改最后一个单词为static即可address 10.10.10.20
netmask 255.255.255.0
gateway 10.10.10.252#IP地址 自行指定的静态IP,别和局域网内其他IP冲突即可
#子网掩码 子网掩码,255.255.255.0就行了
#网关 有openwrt能翻墙的就填openwrt的IP;没有的就填自己主路由的IP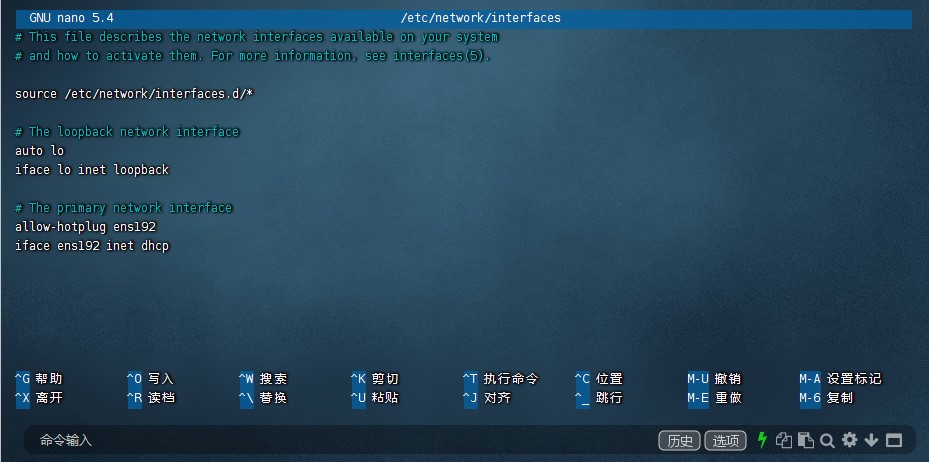
3、重启Debian系统
完成后保存(Ctrl+X保存,在输入Y,回车),并重启debian使IP生效。
reboot4、安装更新Debian系统
1.1、Debian/Ubuntu系统更新
apt update -y && apt install -y curl && apt install -y wget && apt install -y sudo1.2、CentOS系统更新
yum update -y && yum install -y curl && yum install -y wget && yum install -y sudo二、安装smartdns(逐行运行)
网址查询
x86_64-linux-all.tar.gz去smartdns官网https://github.com/pymumu/smartdns/releases/下找到最新版本的linux-all.tar.gz的安装包,右键点他复制链接
wget https://github.com/pymumu/smartdns/releases/download/Release45/smartdns.1.2024.02.08-0828.x86_64-linux-all.tar.gztar zxf smartdns.1.2024.02.08-0828.x86_64-linux-all.tar.gzcd smartdnschmod +x ./install./install -i代码注释 :
下载
解压缩
chmod +x就是赋予用户文件的执行权限
运行安装程序
方法一、导入配置
需要先备份一下smartdns.conf这个文件。因为所有的smartdns配置信息都在这个文件里面。
路径为:/etc/smartdns/smartdns.conf
cd /etc/smartdnschmod 777 /etc/smartdns在上传备份的文件
也可以再线编辑,需要执行以下命令
chmod 777 /etc/smartdns/smartdns.conf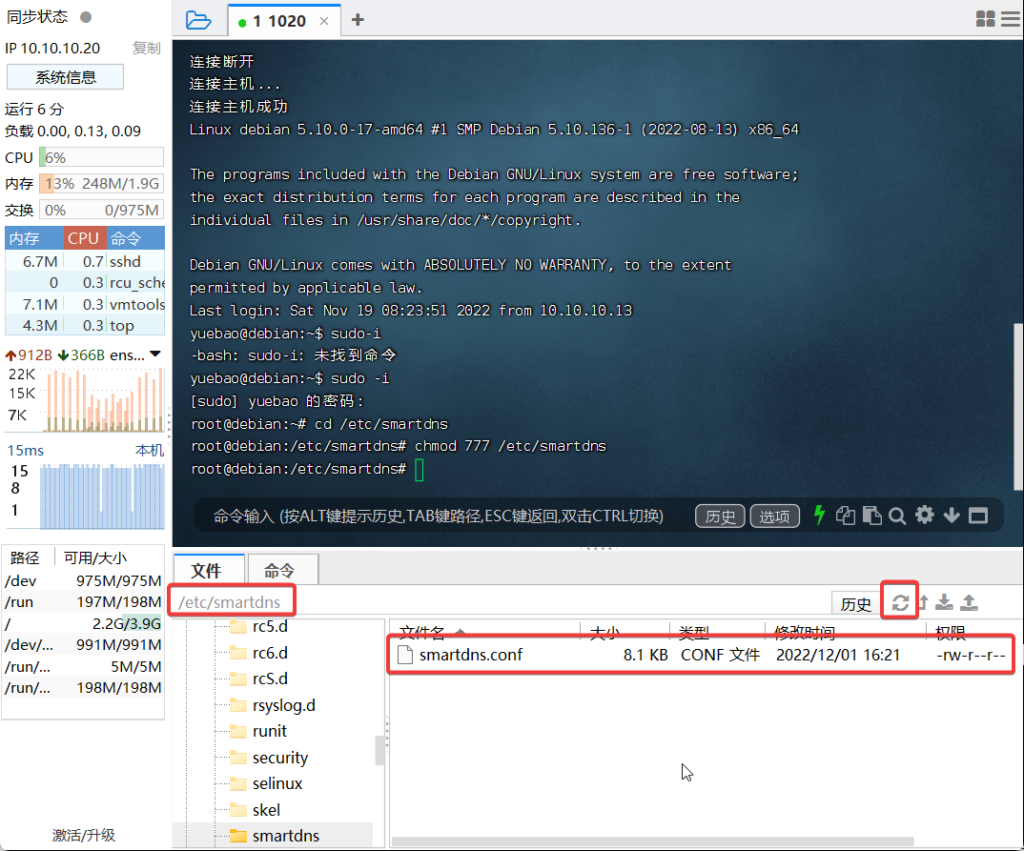
方法二、直接手动修改
1、修改smartdns配置
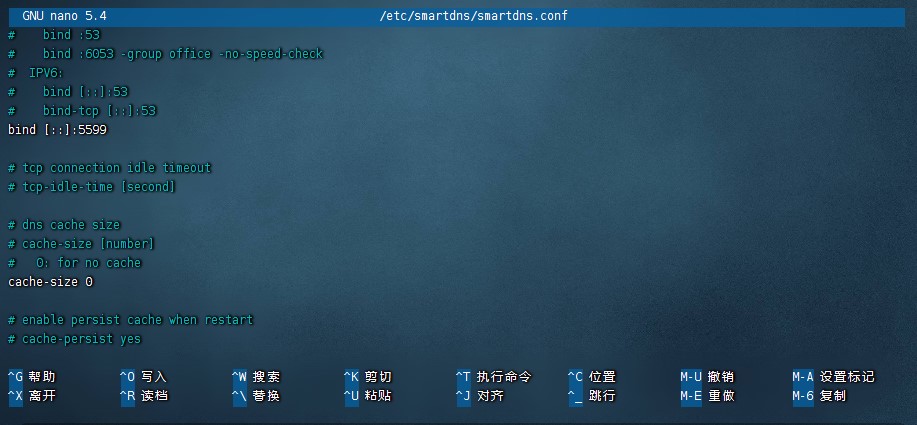
- 修改smartdns.conf配置文件里bind [::]:5599(端口改为5599)
- 修改smartdns.conf配置文件里cache-size 0(关闭smatedns的缓存功能)
- 添加上游dns
- nano命令详解
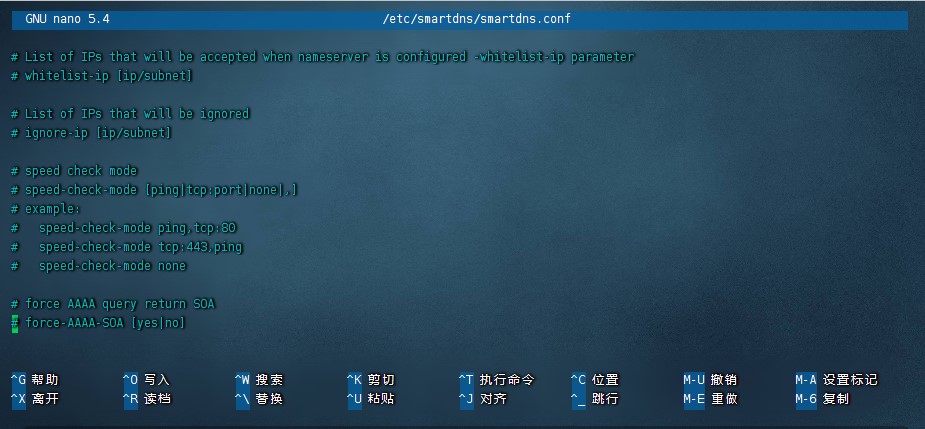
nano /etc/smartdns/smartdns.conf1,修改smartdns的监听端口号。找到”bind [::]:53“,将53端口改为其他任意端口号,比如5599
55992,将缓存大小”cache-size 512“改为0,也就是”cache-size 0“,因为我们不需要smartdns的自带缓存,待会要将缓存设到pihole中去。
3,禁止查询解析IPv6,因为ipv4的速度远快于ipv6。将”#force-AAAA-SOA [yes/no]“改为”force-AAAA-SOA yes“
2、添加DNS
1、添加UDP类型上游dns,用于国内解析。前3条是我这里本地电信的DNS,可以替换成你们本地的(需要自行百度查找)。后3条是公共的dns,可以不变
2、添加TLS类型的上游dns,用于国外解析。我这里用的都是国外的公共dns
上游DNS添加文档尾部
专用
阿里
DoT请配置 122566.alidns.com
DoH请配置
https://122566.alidns.com/dns-query腾讯
DNS over HTTPS:https://doh-d3a85575.doh.pub/dns-query
DNS over TLS:dot-d3a85575.dot.pub
https://doh-d3a85575.doh.pub/dns-query公用
#国内腾讯、阿里 加密dns DOH
https://dns.pub/dns-query
https://dns.alidns.com/dns-query
格式:
server-https https://122566.alidns.com/dns-query
server-https https://doh-d3a85575.doh.pub/dns-query
server 202.103.225.68
server-tcp 114.114.114.114
server-tcp 223.5.5.5
server-tcp 223.6.6.6
server-tcp 180.76.76.76
server-tcp 202.96.128.166
server-tcp 119.29.29.29
server-tcp 182.254.116.116
server-tcp 101.226.4.6
server-tcp 218.30.118.6
server-tcp 202.96.128.86
server-tcp 202.96.134.33
server-tls 8.8.8.8
server-tls 8.8.4.4
server-tls 1.1.1.1
server-tls 1.1.1.2
server-tls 208.67.220.220
server-tls 208.67.222.222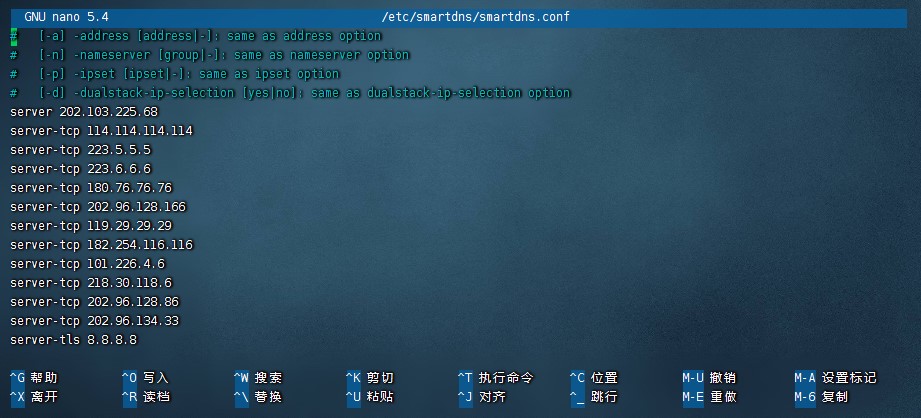
3、启动smartdns
#将smartdns添加为开机自动启动
systemctl enable smartdns#启动smartdns
systemctl start smartdns4、升级smartdns
由于是重新安装,所以需要先备份一下smartdns.conf这个文件。因为所有的smartdns配置信息都在这个文件里面。
路径为:/etc/smartdns/smartdns.conf
cd /etc/smartdnschmod 777 /etc/smartdns/smartdns.conf下载文件保存
1、卸载smartdns
下载最新的smartdns版本,然后解压,进入smartdns文件夹,执行卸载命令。
wget https://github.com/pymumu/smartdns/releases/download/Release36.1/smartdns.1.2022.04.05-2046.x86_64-linux-all.tar.gztar zxf smartdns.1.2022.04.05-2046.x86_64-linux-all.tar.gzcd smartdnschmod +x ./install./install -u卸载完成后,然后再执行安装命令。
2、安装smartdns
./install -i安装玩之后,手动可以恢复smartdns.conf文件。
三、接下来安装Pi-Hole
Pi-Hole主页地址:https://github.com/pi-hole/pi-hole
用”su -“先切换到root用户。千万不能漏掉”-“,再次提醒! 运行自动安装脚本,安装过程中一直回车就行了。
输入并回车即可看到 Pi-hole 的logo:
#进入目录后,在执行以下代码安装
mkdir -p /root/Pi-Holecd /root/Pi-Holecurl -sSL https://install.pi-hole.net | bash更谨慎的方式则是下载并检视其安装脚本,然后再安装:
wget -O basic-install.sh https://install.pi-hole.net
sudo bash basic-install.sh
相对于纯命令行界面,Pi-hole 提供了相对友好的安装引导:
配置
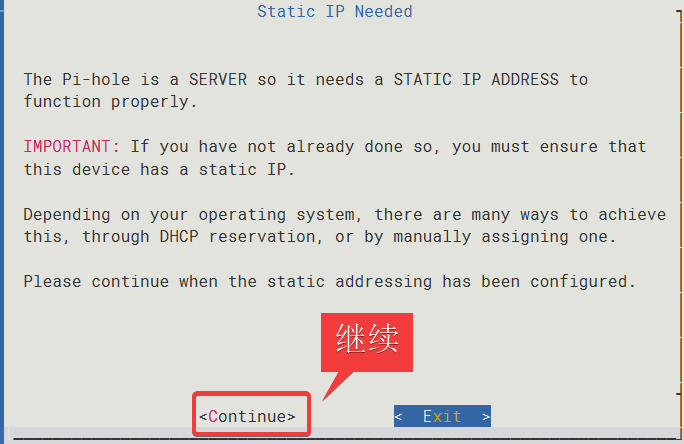
Pi-hole是一个服务器,所以它需要一个静态IP地址来正常工作。
重要提示:如果你还没有准备好这样做,你必须确保这个设备有一个静态IP。
根据操作系统的不同,有很多方法可以实现这一点,比如通过DHCP预留,或者手动分配。
静态添加配置完成后,请继续。
1. 网络配置
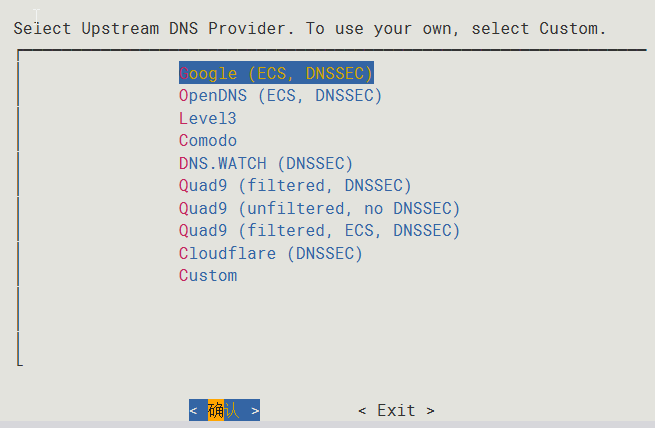
接下来选择 DNS 提供商,视个人网络情况,可选择 Cloudflare 或 Google
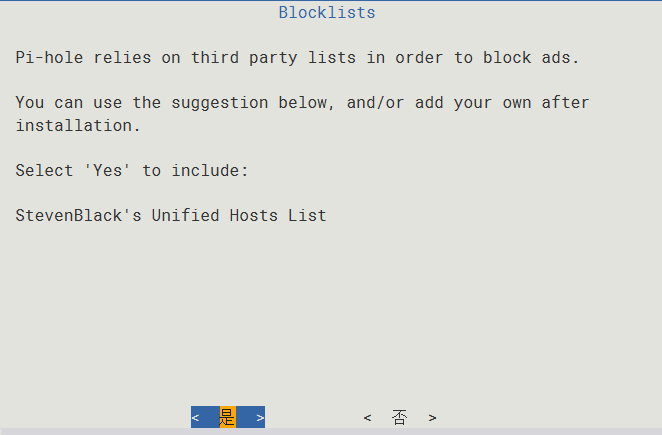
Pi-hole依靠第三方列表来屏蔽广告
您可以使用下面的建议,并/或在安装后添加您自己的。
选择“是”包括:
StevenBlack的统一主机列表
2. Web 控制台配置
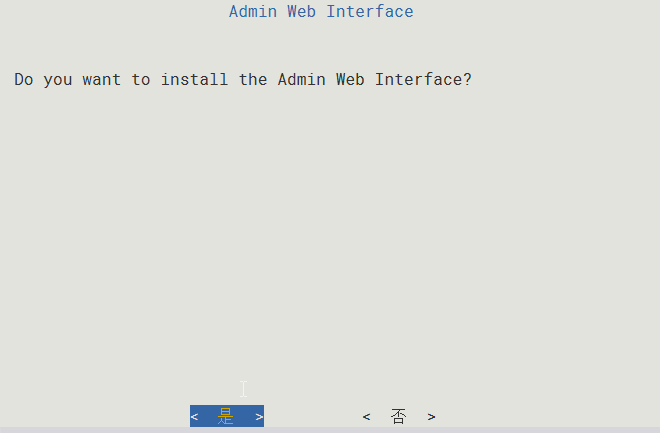
一路回车之后,我们来到了 Web 管理员控制台的配置项,Web 管理员控制台是我们后续配置拦截规则、查看拦截日志等功能的必备入口,因此此处维持默认的 On 即可。
接下来的 Web Server 也必须同样选择 On,除非你想自己配置一个 Web Server。
接下来的选项一路<确定>回车即可
是否要安装管理Web界面?
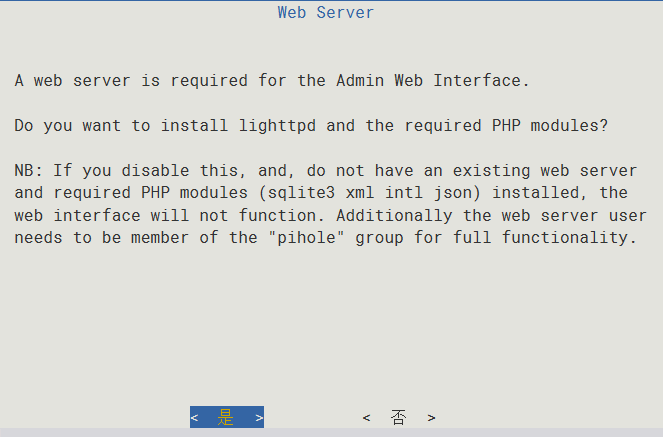
Admin web Interface需要一个web服务器。
是否需要安装lighttpd和所需的PHP模块?
注意:如果你禁用了这个功能,并且没有安装现有的web serven和所需的PHP模块(sqlite3 xml intl json), web界面将不起作用。
此外,web服务器用户需要是“pihole”组的成员,以获得完整的功能。
是否启用查询日志

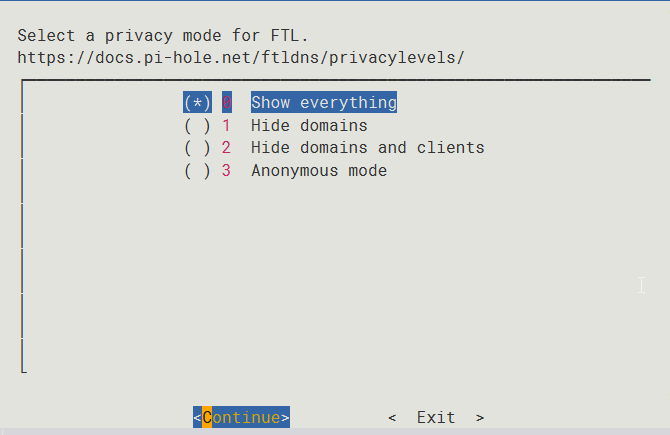
FTL隐私模式
(*)显示所有
() 1隐藏域名
() 2隐藏域和客户端
()3匿名模式
等待几分钟后,我们会在终端中看到如下信息:

至此,我们的 Pi-hole 就已经配置好了。
3、修改Pi-Hole密码
运行以下命令先修改下pihole的密码,密码不会显示,输完直接回车就行了。
pihole -a -p4、重启Debian系统
reboot5、更新Pi-Hole
sudo -icd /root/Pi-Hole/pihole -up6、查看debian的本地dns,是否已经是127.0.0.1,也就是使用本机自己作为dns
cat /etc/resolv.confyuebao@debian:~$ cat /etc/resolv.conf
nameserver 10.10.10.20
nameserver 10.10.10.18配置pi-hole
1、登录pi-hole
在浏览器打开pihole的主页,其中10.10.10.20是debian的IP地址,改成你自己的!
管理页面:10.10.10.20/admin
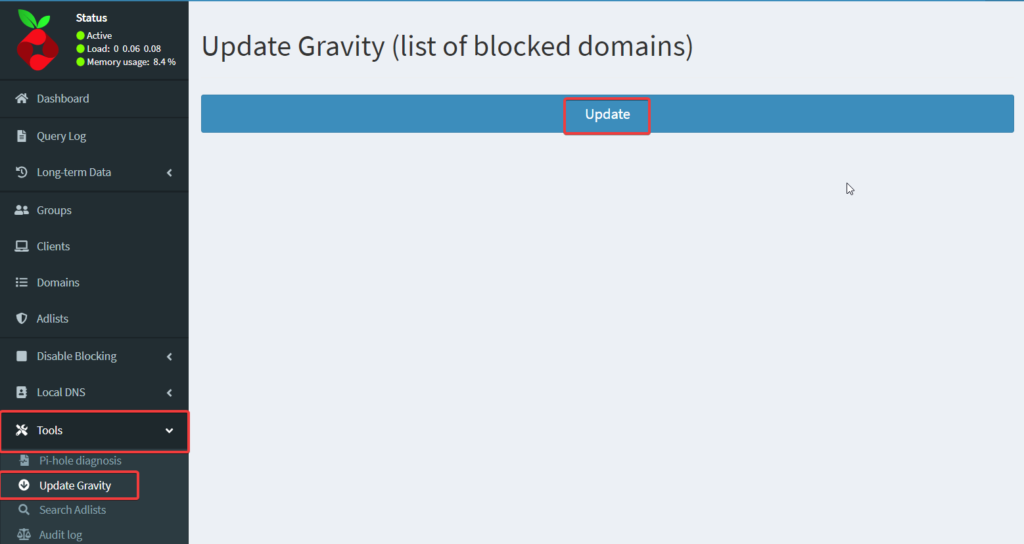
2,更新规则。
Tools–》update gravity–》update
3,设置上游DNS
将smartdns设置为pihole的上游dns settings–》DNS–》google一行取消打勾–》Upstream DNS Servers–》custom1 IPv4 填入127.0.0.1#smartdns的端口 5599就是上面再smartdns中设置的监听端口。
#5599为第一次修改端口号
127.0.0.1#5599
Pi-hole命令
pihole全部命令
pihole --help检查pi-hole状态:
pihole status[y] DNS service is running DNS服务正在运行
[y] Pi-hole blocking is Enabled Pi-hole已启用
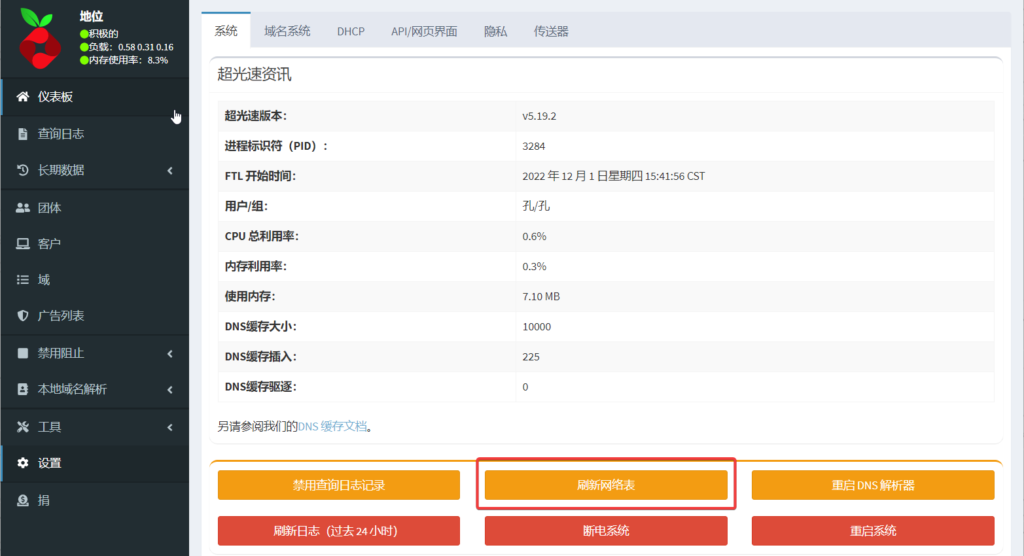
重新配置pi-hole系统:
pi-hole -r从系统中卸载Pi-hole:
pi-hole uninstall重启Pi-holes子系统:
pi-hole restartdns以下示例将白名单ywnz.com域名:
# pihole -w ywnz.com
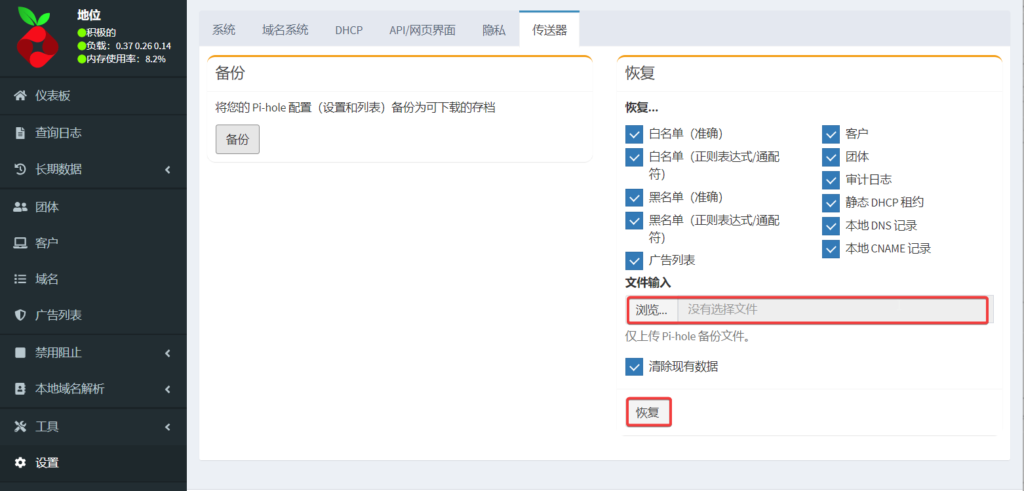
4、备份
四、检查是否正常开启
1,重启debian,然后输入top查看后台进程,smartdns和pihole是否会被自动启用。
top
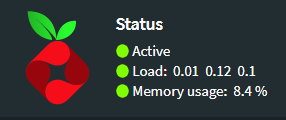
2,查看pihole是否运行显示绿色active
3、检测服务是否配置成功
方法一:
nslookup -querytype=ptr smartdns查看命令结果中的 name 是否为 smartdns 或你的主机名,如果是则表示生效
Server:         10.10.10.20
Address:        10.10.10.20#53

Non-authoritative answer:
smartdns        name = debian.

Authoritative answers can be found from:
方法二:
在windows中,windows键+R–》输入cmd呼出命令行模式–》输入nslookup baidu.com
nslookup baidu.comnslookup www.google.com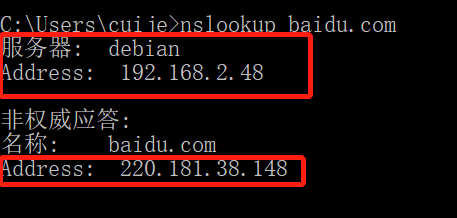
pi-hole自带一个过滤网站的列表, 但是这个列表大多是国外网站,我们可以加一个针对国内网站的列表。用浏览器去https://pi-hole的ip地址 , 填上密码登录,然后去”Group Management”->”Adlists” , 填上这个地址:
https://anti-ad.net/domains.txt保存之后去”Tools”->”Update Gravity” , 点Update, 更新完毕之后全家的设备就都清爽了!
被屏蔽的网站可以在Query Log里看的一清二楚: